
I thought I would share a quick guide on sewing curtains for the Airstream. Browsing around the Airstream forums, many people seem a bit intimidated by the process of sewing curtains. It is actually quite easy, although a bit time-consuming. But, with some simple tools, you can whip up some nice new curtains and save some cash!
First things first, pick out some fabric. As I posted earlier, I wanted something that screamed "Flower Power!" and matched our Tiffany Box Blue interior. We needed 10 yards for our curtains since the fabric I chose was a 45" wide bolt. For linings, I found some super-cheap white muslin.
I measured out all the old curtains. I added two inches for the top and bottom, and one inch per side for seam allowances. To make sure my curtains were shaped like a rectangle and not a rhombus, I like to cut my fabric using a self-healing cutting mat and rotary cutter. You can find a three piece set (includes the handy ruler) in the quilting section of the craft store.

After cutting your curtain and liner fabrics to size, I like to press my seams. Some people skip this step and rely only on pinning, but pressing everything flat gives a nice crisp edge and makes it easier to sew and put in the eyelets later.

After I press all my folds, I put in the eyelets. (If you choose to put in eyelets, you have to do so before sewing the bottom edge down). The old curtains in my Airstream simply had the pointed curtains hooks poked into the fabric. The curtain hooks have sharp points that easily tear through the fabric, but I think putting an eyelet in is a nicer touch. You can pick up a grommet tool and bag of eyelets very inexpensively. The first step is using the tool to create a small hole in the fabric, much like a hole punch. I used the same 4" increments that my old curtains had.

Next, you thread the eyelet into the hole and use the tool to crimp it down. It gives a professional look, I think.

Next, just sew down all your edges. I fold the sides over twice to hide any rough edges (see picture below). I pin everything in place to keep everything tidy as I sew.

This is a time consuming process. I like to set up a folding table in the living room so that I can watch a movie while I work... it passes the time. On this night, I was watching Pretty In Pink.

The final step is to secure the little rings at the bottom of the curtains. My Airstream had fishing line run across the bottom of the windows to hold the curtains down. (I think plain white cord might be a nicer touch). I simply hand stitched these on in the same 4" increments as the eyelets.

This is a time consuming process. I like to set up a folding table in the living room so that I can watch a movie while I work... it passes the time. On this night, I was watching Pretty In Pink.
The final step is to secure the little rings at the bottom of the curtains. My Airstream had fishing line run across the bottom of the windows to hold the curtains down. (I think plain white cord might be a nicer touch). I simply hand stitched these on in the same 4" increments as the eyelets.
And, voila, you are ready to hang your new curtains.

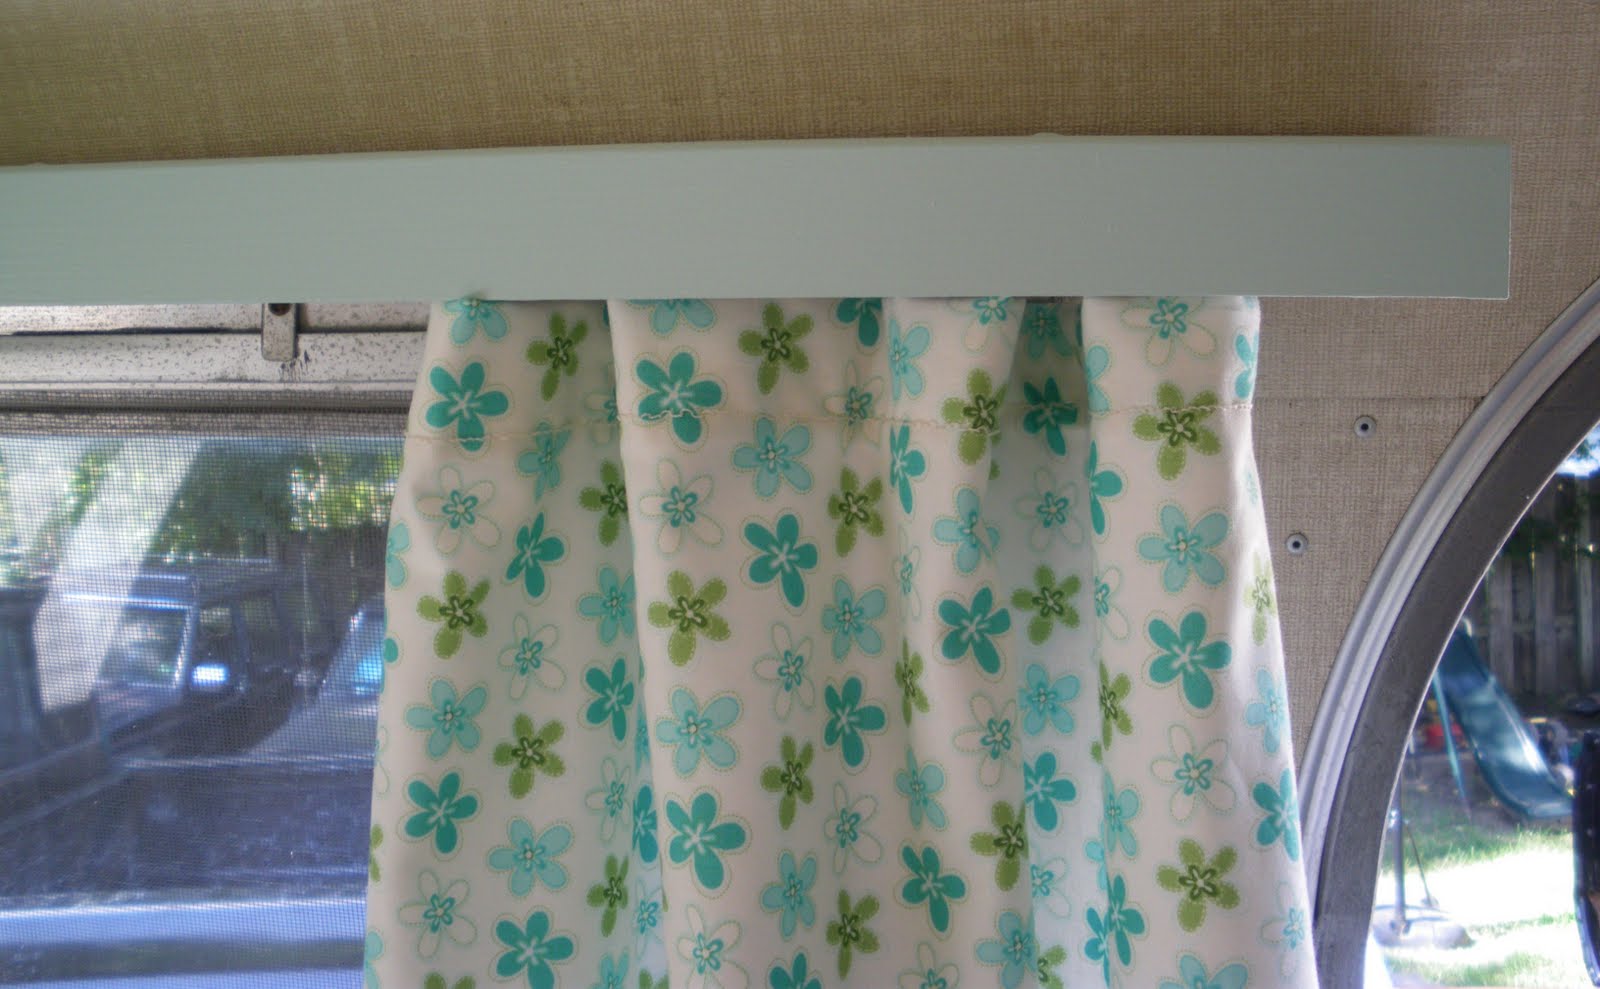
I think they look really sweet when all bunched up to the side. I like to let the sunlight in! You could use a light-blocking material, but I really like the look of light streaming in. I also think the curtains look really nice with the newly painted cornices!

Whew! One down... seven to go!

Whew! One down... seven to go!


