After running through several packages of sandpaper, the wood is ready to be conditioned, stained and sealed.

The brick of the fireplace was not intended to be visible... whoever laid the bricks slopped mortar everywhere. It was oozing through the bricks. Steven spent a lot of time with the grinder cleaning it up. The Dremel wouldn't even make a dent in it. He actually had to take our grinder to it... It was pretty crazy! He had to set up a board in the living room to keep the sparks contained. Our living room was coated in dust, so it was a pretty messy ordeal. But, a couple coats of primer and paint later, and we have this lovely brick fireplace:

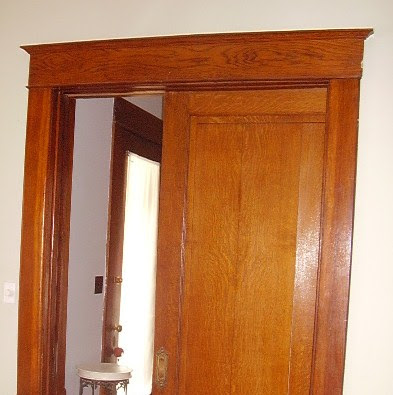
Of course, every project we embark on hits a snag. The woodwork in our living room doesn't match. It has all aged differently... The doors and trim have gotten a lot of sunlight of the years and have faded to a medium brown:
 While the beams on the ceiling, and the trim around the windows have remained a deep red-brown:
 So we are doing a few different test pieces for comparison. I think that the pocket door is the biggest area of woodwork and the doors are nearest the fireplace, so we should match those. We will try 3 different options: a deep red, a medium brown, and a medium brown mix with red.
Old houses keep us creative, right?

No comments:
Post a Comment